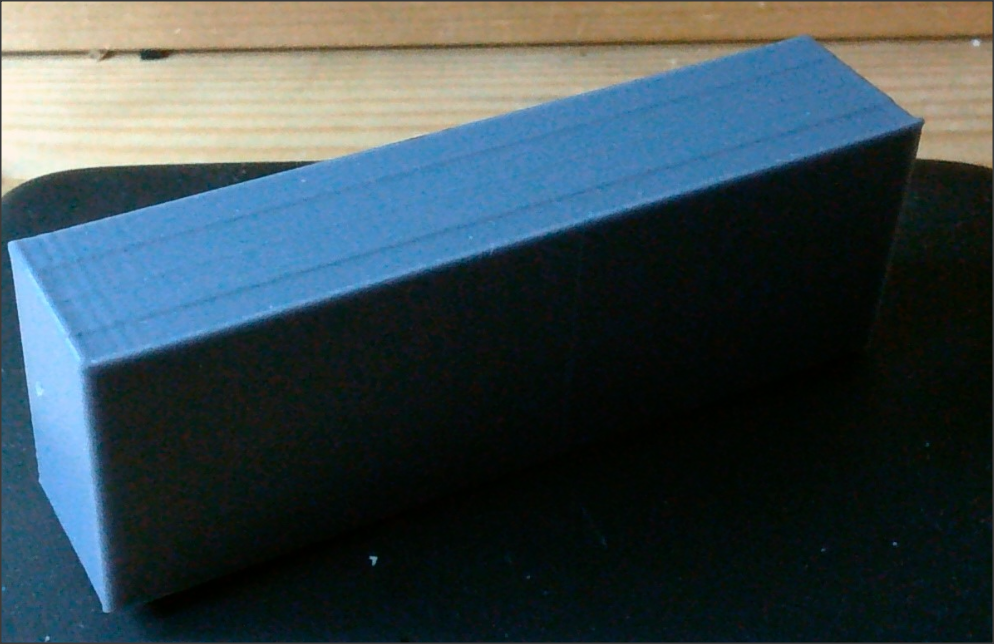
Et voila une station autonome construite a partir de https://www.instructables.com/id/Solar-Powered-WiFi-Weather-Station-V20/ . Le budget est très réduit, et il suffit d'avoir un reseau Wifi a portée raisonable. Plus de problemes d'autonomie :)
Prochaine étape, ajouter quelques capteurs supplementaires pour l'indice UV, une sonde thermo separée, un capteur d'humidité plus precis.
14 mai 2019
11 mars 2018
Impression du Flex
Pur imprimer le flex:
1) l'extruder doit guide le file le plus possible pres du pignon d'entrainement
2) le filament doit etre droit, non abimé ou ayant deja servi
3) Imprimer a basse vitesse , 15mm/sec
4) Augmenter la vitesse de deplacement a 150-200ms pour reduire les fils
5) temperature du fil au max, pour le recreus a 230-235degres
6) pas de ventilation sur la piece
7) pas de retract

1) l'extruder doit guide le file le plus possible pres du pignon d'entrainement
2) le filament doit etre droit, non abimé ou ayant deja servi
3) Imprimer a basse vitesse , 15mm/sec
4) Augmenter la vitesse de deplacement a 150-200ms pour reduire les fils
5) temperature du fil au max, pour le recreus a 230-235degres
6) pas de ventilation sur la piece
7) pas de retract

22 septembre 2017
Extruder tuning
After many test and trials, and with the help of Bondtech, I finally found the problem that was causing me some headaches....
Problem was this:

Then after I fixed it, the result was this:


Muuuuch better :)
The reason: My printer is using rails HIWIN. They are very good , but they bring more friction than wheels or long bearings. So initially I got shift problems due to stepper missing steps. So I increased the power on all my stepper driver, from ~0.7v to 1.2v, including the Extruder driver... That was my mistake....
The problem you see above come from a too high voltage of the extruder (Nema 17/25mm) causing the bands with holes. The stepper was given for 700mA, and with 1.2v voltage on the stepper, current is over the limit.
Tha's set. For the pikachu Orange, now the voltage is set at 0.9v and result is far much better.
ouch
Problem was this:

Then after I fixed it, the result was this:


Muuuuch better :)
The reason: My printer is using rails HIWIN. They are very good , but they bring more friction than wheels or long bearings. So initially I got shift problems due to stepper missing steps. So I increased the power on all my stepper driver, from ~0.7v to 1.2v, including the Extruder driver... That was my mistake....
The problem you see above come from a too high voltage of the extruder (Nema 17/25mm) causing the bands with holes. The stepper was given for 700mA, and with 1.2v voltage on the stepper, current is over the limit.
Tha's set. For the pikachu Orange, now the voltage is set at 0.9v and result is far much better.
ouch
18 septembre 2017
Cutting Aluminum
Last weekend, I tried to cut an aluminum sheet 2mm thickness. This was my first test with CNC to cut aluminum, as I used to cut carbon sheet and fiberglass mainly .
Result is good so far, next trial will be with a 4mm sheet. It needs to add some oil spraying during the milling.
My settings:
- drillMill: 1 tooth, M2x8
- cutting speed of the Kress: between 5 and 6 (RPM?)
- cut advance: 200mm/sec
- layer: 0.2mm
Result is good so far, next trial will be with a 4mm sheet. It needs to add some oil spraying during the milling.
My settings:
- drillMill: 1 tooth, M2x8
- cutting speed of the Kress: between 5 and 6 (RPM?)
- cut advance: 200mm/sec
- layer: 0.2mm
10 septembre 2017
Tests to improve print quality
This week I made several progresses which improve the print quality, especially regarding retract and ghosting.
First, I installed and test the BondTech BMG extruder. It is a must, compact, very efficient , light, it has only adavantages. With it, and the mirror on bed, I could make my best first layer. I did first calibrate the width of the line. Once done, this line is very clean. Retract has been set at 3mm. There is still somme stringing (oozing), but it is reasonable.
Then, I tried to remove the ghosting effect (aka ripple or vibration). I split it in two: first part appears when the print head accelerate, second part is all over the wall, I 'll call it woobles.
woobles:
To reduce the wooble I added TL-smoother (2) between the TMC2100 driver and the stepper (on X and Y) . Picture show a comparison before (left) and after(right).
We can see that the right one has less woobles. So the TL-smoother seems to have some effect on the TMC2100, however the TMC2100 becomes much more noisy...
Second, to reduce the ghosting, people on forum always says: "reduce acceleration, reduce speed". So, that what I finally did because I could 'nt find any vibration problems on my printer mechanic. But, this time, instead of changing in the Marlin firmware for all movement, I changed it in Slic3R. The last version (2.7.0) allows to set an acceleration for each movement type. So I set the acceleration for perimeters to 100 (instead of 500). And the result is better, left=before, right=after
First, I installed and test the BondTech BMG extruder. It is a must, compact, very efficient , light, it has only adavantages. With it, and the mirror on bed, I could make my best first layer. I did first calibrate the width of the line. Once done, this line is very clean. Retract has been set at 3mm. There is still somme stringing (oozing), but it is reasonable.
Then, I tried to remove the ghosting effect (aka ripple or vibration). I split it in two: first part appears when the print head accelerate, second part is all over the wall, I 'll call it woobles.
woobles:
To reduce the wooble I added TL-smoother (2) between the TMC2100 driver and the stepper (on X and Y) . Picture show a comparison before (left) and after(right).
We can see that the right one has less woobles. So the TL-smoother seems to have some effect on the TMC2100, however the TMC2100 becomes much more noisy...
Second, to reduce the ghosting, people on forum always says: "reduce acceleration, reduce speed". So, that what I finally did because I could 'nt find any vibration problems on my printer mechanic. But, this time, instead of changing in the Marlin firmware for all movement, I changed it in Slic3R. The last version (2.7.0) allows to set an acceleration for each movement type. So I set the acceleration for perimeters to 100 (instead of 500). And the result is better, left=before, right=after
23 août 2017
Bed adherence
After years of using blue tape for bed adherence, I decided to try something else which do not make any mark below the print and which would work at least for PLA and PETG...
So, my friends of the Grenoble maker club, recommended me to try using mirror with head spray. They advertise it me so well that I decided to try.
As I had some old mirrors around, with good dimensions, I simply lay one done on the Tevo Tarantula aluminium bed (without the PEI) and fix it with clips. Then I spray the surface with hair spray .
That's all.
First test with PLA succeed with no problem, the bed was a 50°C, adherence was great , no warping nothing. After print is finished, then I needed to wait until the bed is completely cold, or put the mirror + parts into a fridge. When cool the printer part can be very easily removed.
Then I tried exact same method with PETG, with bed heated at 75°. It also works great ! The part I tested was 7x5cm so not very large, but it worked fine. Same as for PLA, wait until the bed is completely cold to remove the printed part.
In addition, the mirror surface is perfect, and bed can then be easily leveled.
So all benefits, I think I can now forget the blue tape ... ;)
So, my friends of the Grenoble maker club, recommended me to try using mirror with head spray. They advertise it me so well that I decided to try.
As I had some old mirrors around, with good dimensions, I simply lay one done on the Tevo Tarantula aluminium bed (without the PEI) and fix it with clips. Then I spray the surface with hair spray .
That's all.
First test with PLA succeed with no problem, the bed was a 50°C, adherence was great , no warping nothing. After print is finished, then I needed to wait until the bed is completely cold, or put the mirror + parts into a fridge. When cool the printer part can be very easily removed.
Then I tried exact same method with PETG, with bed heated at 75°. It also works great ! The part I tested was 7x5cm so not very large, but it worked fine. Same as for PLA, wait until the bed is completely cold to remove the printed part.
In addition, the mirror surface is perfect, and bed can then be easily leveled.
So all benefits, I think I can now forget the blue tape ... ;)
14 août 2017
Vibration, ripple, shadow, ghosting
I have own several printers and the ripple effect always appears on most of my print.
How to get rid of it ?
The ripple or vibration or shadow effect looks like this:
Look on the surface where it is bright, do you see all this little waves ? They are vertically aligned. The surface should be perfectly flat and clean.
This test has been printed with my last printer, home made, see TevoTarantula in an earlier post.
Thanks to "megablue" who did post this very demonstrative test. You can find it here on thingiverse.
To remove this effect, I tried several things: switch from delta (the worse for ripple effect) to Prusa, change rods on OboXL3D (big ultimaker like), switch from bowden extruder to direct, switch from Direct to the E3D Titan Aero...
Here is the list, mechanical, electronic and settings:
- belt tension
- axis movement softness
- remove any play
- replace motor (Nema 17 1.8° and 0.9° per turn)
- stepper driver (A4988, DRV8825, TMC2100)
- various electronic boards (Mks base 1.3, MKS base 1.5, MKS SBASE, Arduino + Ramps, etc...)
- frame: delta(Kossel XL), ulimatker like, Tarantula Tevo (prusa), Minifab, Anet 3d(prusa), TevoTitan(prusa)
- bowden to Direct extruder
- Direct extruder to Titan Aero

Settings:
- decrease X, Y acceleration
- decrease X, Y jerk
- Increase E jerk
- increase E acceleration
- reduce X,Y max speed


My last print improved, even if not perfect. What I changed ? Filament mainly...
Here is the result:

So to conclude, it seems that the best solution is still to reduce speed as much as possible, and avoid abrupt acceleration as much as possible, because the extrusion can't handle it quick enough..
Do not hesitate to post a comment below if you want, there is may be a good solution to make technical parts looks better.
How to get rid of it ?
The ripple or vibration or shadow effect looks like this:
Look on the surface where it is bright, do you see all this little waves ? They are vertically aligned. The surface should be perfectly flat and clean.
This test has been printed with my last printer, home made, see TevoTarantula in an earlier post.
Thanks to "megablue" who did post this very demonstrative test. You can find it here on thingiverse.
To remove this effect, I tried several things: switch from delta (the worse for ripple effect) to Prusa, change rods on OboXL3D (big ultimaker like), switch from bowden extruder to direct, switch from Direct to the E3D Titan Aero...
Here is the list, mechanical, electronic and settings:
- belt tension
- axis movement softness
- remove any play
- replace motor (Nema 17 1.8° and 0.9° per turn)
- stepper driver (A4988, DRV8825, TMC2100)
- various electronic boards (Mks base 1.3, MKS base 1.5, MKS SBASE, Arduino + Ramps, etc...)
- frame: delta(Kossel XL), ulimatker like, Tarantula Tevo (prusa), Minifab, Anet 3d(prusa), TevoTitan(prusa)
- bowden to Direct extruder
- Direct extruder to Titan Aero

Settings:
- decrease X, Y acceleration
- decrease X, Y jerk
- Increase E jerk
- increase E acceleration
- reduce X,Y max speed


My last print improved, even if not perfect. What I changed ? Filament mainly...
Here is the result:

So to conclude, it seems that the best solution is still to reduce speed as much as possible, and avoid abrupt acceleration as much as possible, because the extrusion can't handle it quick enough..
Do not hesitate to post a comment below if you want, there is may be a good solution to make technical parts looks better.
Inscription à :
Articles (Atom)